Interior design photography is a highly technical profession that demands extensive experience and expertise—not only to create beautiful imagery, but to capture the right visuals that effectively convey the vision and hard work behind each space.
So, what can you do to take your visuals to the next level?
Table of Contents
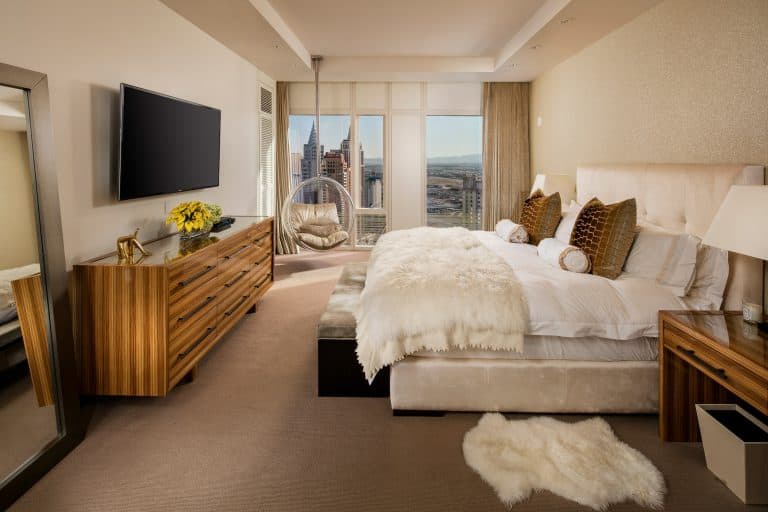
Choosing the Right Angle for Interior Photos
Selecting the right angle is essential to telling a visual story that effectively showcases and sells the designer’s work.
Many photographers tend to focus on close-up shots of materials. While these detail shots—like a lamp, the corner of a bed, or a wall covering—are valuable as supporting images, they don’t communicate the full scope of the designer’s vision. A designer’s true talent lies in tying all those elements together into a cohesive space. And that’s what your photography needs to highlight.
Start by:
Scouting the space, elements, and views: Take the time to understand the layout and identify visual strengths.
Understanding the designer’s work: Know what was changed or created—whether it’s layout, materials, custom furniture, lighting, or spatial flow.
Choosing angles that capture the full design intent: Aim to include key elements in the frame while establishing a clear focal point.
Avoiding overly wide frames: Interior design isn’t about showing “wall to wall” like in real estate. It’s about showcasing thoughtful details and spatial relationships.
Staying away from ultra-wide lenses: A 24mm focal length is a great place to start to minimize distortion while keeping the focus on the design. If using a smartphone, zoom in slightly to avoid distortion—but be cautious not to overzoom and compromise image quality.
Avoiding corner shots: Instead, shoot head-on or at subtle angles that maintain balance and perspective.
Including all key design components: Flooring, furniture, lighting fixtures, textures—they all contribute to the space and deserve to be considered.
Remember: You don’t need to include everything in one frame. What matters is conveying the big picture through carefully composed images that highlight the designer’s intent and attention to detail.

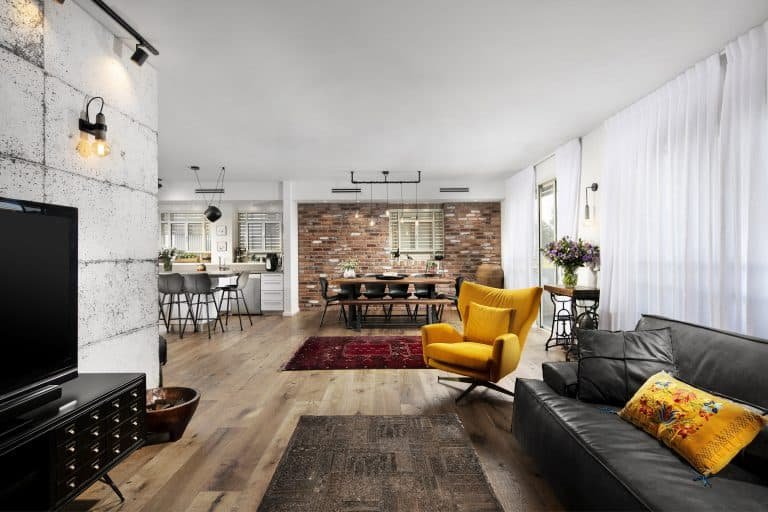
Lighting for Interior Photos
Lighting is one of the most critical elements in interior photography—and working with the light instead of against it can make all the difference.
Start by turning on all available lights, but avoid mixing light sources with different color temperatures—such as tungsten, LED, and fluorescent. The combination of blue, white, and yellow tones can result in color contamination that’s difficult to correct in post-production.
One effective trick to reduce color contamination while still showcasing the lighting design is to dim the lights to the lowest visible level. This way, the fixtures appear lit (bulbs are on), but their color won’t overpower the image.
Additional lighting tips:
Use natural sunlight strategically: Plan your shoot around the sun’s location and angle. Natural side lighting adds dimension and drama.
Control window treatments: Open shades or close curtains depending on the look you want and how the sunlight is entering the space.
Supplement as needed: Use strobes, flashes, speedlights, or continuous lighting to enhance the existing light gently—never overpower it.
Avoid shooting into direct sunlight: Position yourself so that the sun hits from the side instead of straight into your lens. This helps prevent lens flare and creates more natural, dynamic lighting.
Smart use of lighting—both natural and artificial—will elevate your photos and help bring the space to life in the most accurate and visually appealing way.


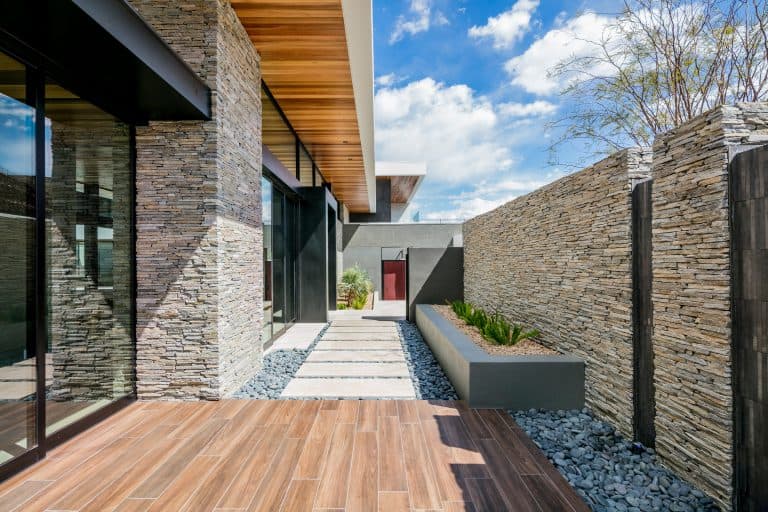
How to Handle Blown-Out Windows in Interior Photography
Windows are one of the trickiest elements to capture during an interior shoot. You often have to choose between properly exposing the interior or maintaining the view through the window—doing both can be a challenge.
Here are a few practical options for handling windows in your shots:
Exclude them from the frame
This is the simplest and most effective option, especially if you’re working quickly or don’t have the tools to manage lighting differences. If the window view isn’t adding value—or is too difficult to manage—just keep it out of the composition.Let them blow out
This means allowing the bright exterior light to overexpose the window area while focusing your exposure on the interior. On a smartphone, just tap on the interior area to adjust exposure accordingly. This method works well when the exterior view is unimportant or distracting (e.g., power lines, unattractive surroundings).Balance the exposure
If you want to show both the interior and the view outside the window, you’ll need to overpower the natural light coming in. This can be done by:Using multiple exposures and blending them in post-production (HDR technique), or
Adding supplemental lighting inside the space to balance the exposure levels.
This last option requires more time and technical skill but can deliver stunning results—especially for high-end spaces or portfolio work where the view is part of the story.
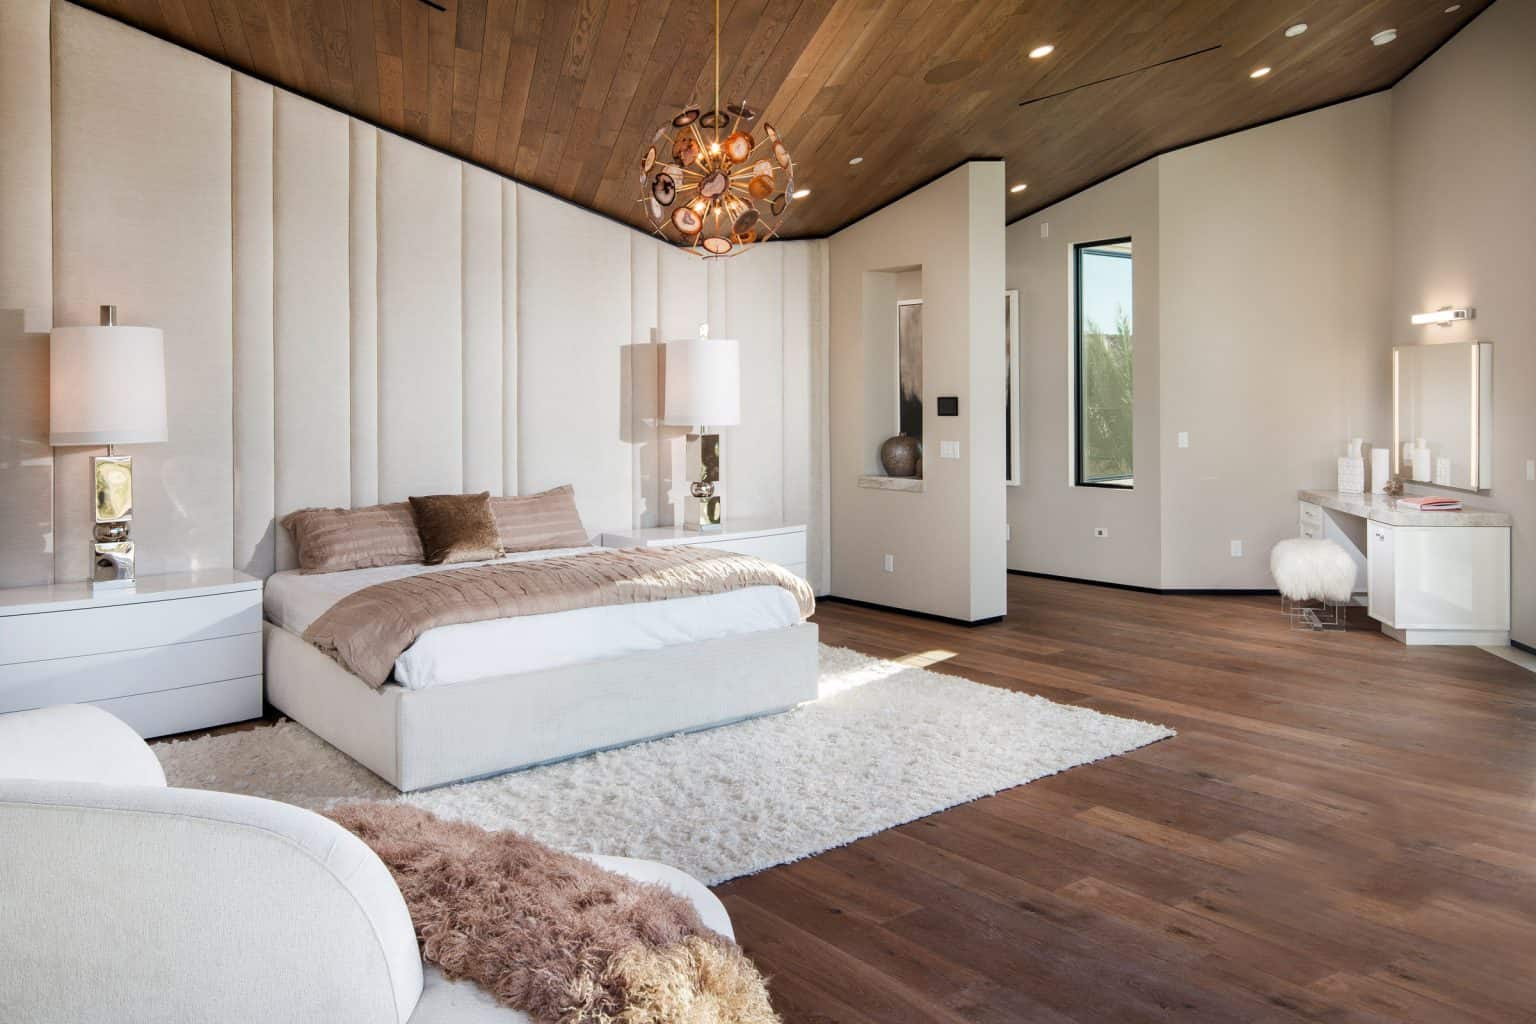
Focus on the Work, Not Just the Details
While interior design is certainly about the details, your photography should prioritize showcasing the designer’s complete vision—how all the elements come together to create a cohesive space.
Close-up shots of furniture or accessories should only be used if you’re photographing specifically for those products (e.g., lighting, furniture manufacturers). For interior design photography, the focus should always be on the overall experience of the space.
Remember the purpose of the shoot: to translate the designer’s work into a few impactful images that clearly communicate the final result to potential clients.
Avoid framing that emphasizes empty walls, excessive ceiling space, or scattered details. Instead, compose your shots to highlight the balance of:
Visual flow
Surface and texture
Color harmony
Spatial feel
If surrounding elements are distracting or pulling attention away from the design, leave them out of the frame. Your goal is to highlight the space as it was designed to be experienced—not just document every single item in the room.

It’s All About the Details
Wait—what? Didn’t I just say not to focus too much on the details? Well, yes, but now we’re talking about the realdetails.
Before you even pick up your camera, understand what the designer brought into the space. What makes their work special? What message do they want the visuals to send to their future clients?
Pay close attention to the little things that can make or break a shot:
Hide garbage cans, cables, or distracting elements.
Adjust rugs, carpets, blankets, and pillows for a polished look.
Turn on all lights and the fireplace if there is one.
Open windows for natural light, and turn off TVs—they don’t add anything to the story.
When you frame your shot, aim to capture as much of the design work as possible. Always ask yourself: Would this image help someone see the value in hiring this designer?
Because here’s the thing—clients often think they can do this themselves. They might be able to shop for furniture, sure, but designing an experience? That takes a professional.
Keep It Straight
One of the most basic—and important—rules in interior photography is to keep your images straight.
Make sure your camera is level, both vertically and horizontally. Use a tripod and keep your lens parallel to the floor—avoid tilting up or down, which causes distortion and crooked lines.
Some helpful tips:
Avoid ultra-wide lenses that can exaggerate perspective and warp the image.
Don’t shoot from extreme angles unless it’s intentional and enhances the design.
Turn on the grid feature on your smartphone or camera to help align your shot.
Use straight lines in the space—tiles, ceiling edges, or wall joints—as your guide.
Balancing your camera based on these natural lines will help create clean, professional images that do justice to the design.