With the growing popularity of interior design, interior design photography has taken center stage.
We’re no longer just capturing rooms from wall to wall—our goal is to tell a visual story, to evoke a lifestyle, and to inspire the viewer to hire the designer behind the space.
Now is the time to level up and represent your clients with visuals that do justice to their creative vision—and help them stand out in a competitive industry.
So if you’re a designer, content creator, or photographer, here are a few tips you can start using today to elevate your interior photography.
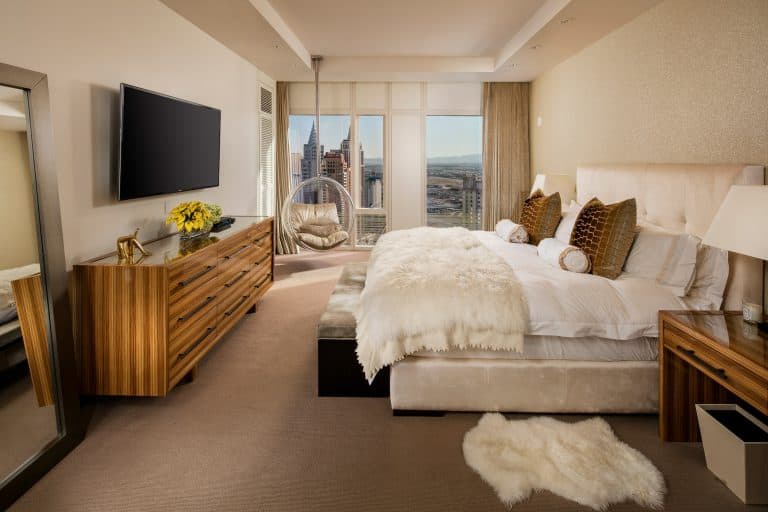
1. Choose the Right Angle
Your chosen angle should reflect the space as a whole—highlighting layout, balance, and design intent.
Shoot slightly below eye level to simulate a natural, lived-in perspective.
This small adjustment keeps vertical lines straight and adds depth to the image.
Avoid going too low or too high:
Going too low can overly emphasize furniture and distract from the design.
Going too high can flatten the space and crop out essential elements like sofas or decorative accents.
📸 Pro tip: Always keep your camera level and parallel to the floor to avoid distortion or keystoning.

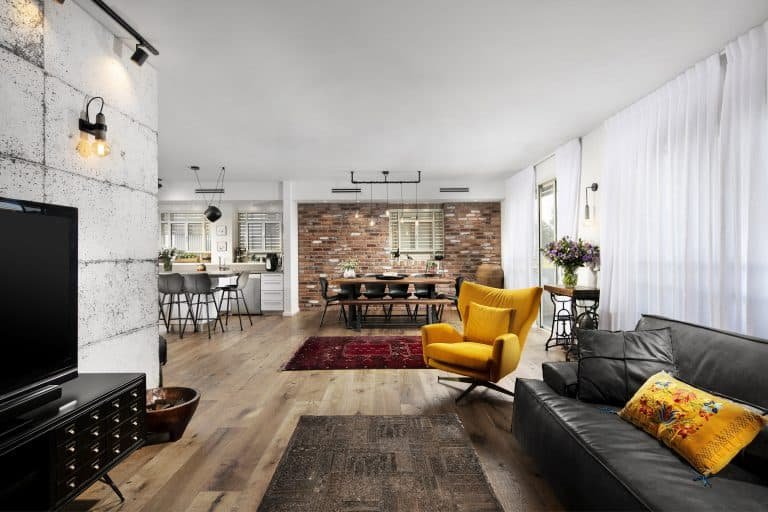
2. Master Interior Lighting
Lighting is everything in interior photography.
-
Turn on all the lights in the room to add depth, warmth, and highlight design features.
-
Open curtains to bring in natural light—but adjust based on sun strength and the quality of the outdoor view.
-
If the sun is too harsh or the view isn’t flattering, use sheer curtains or change your angle.
💡 Pro tip:
If you’re dealing with mixed light sources (LEDs, tungsten, fluorescents), try dimming them. This reduces color casting while maintaining that “lived-in” glow.
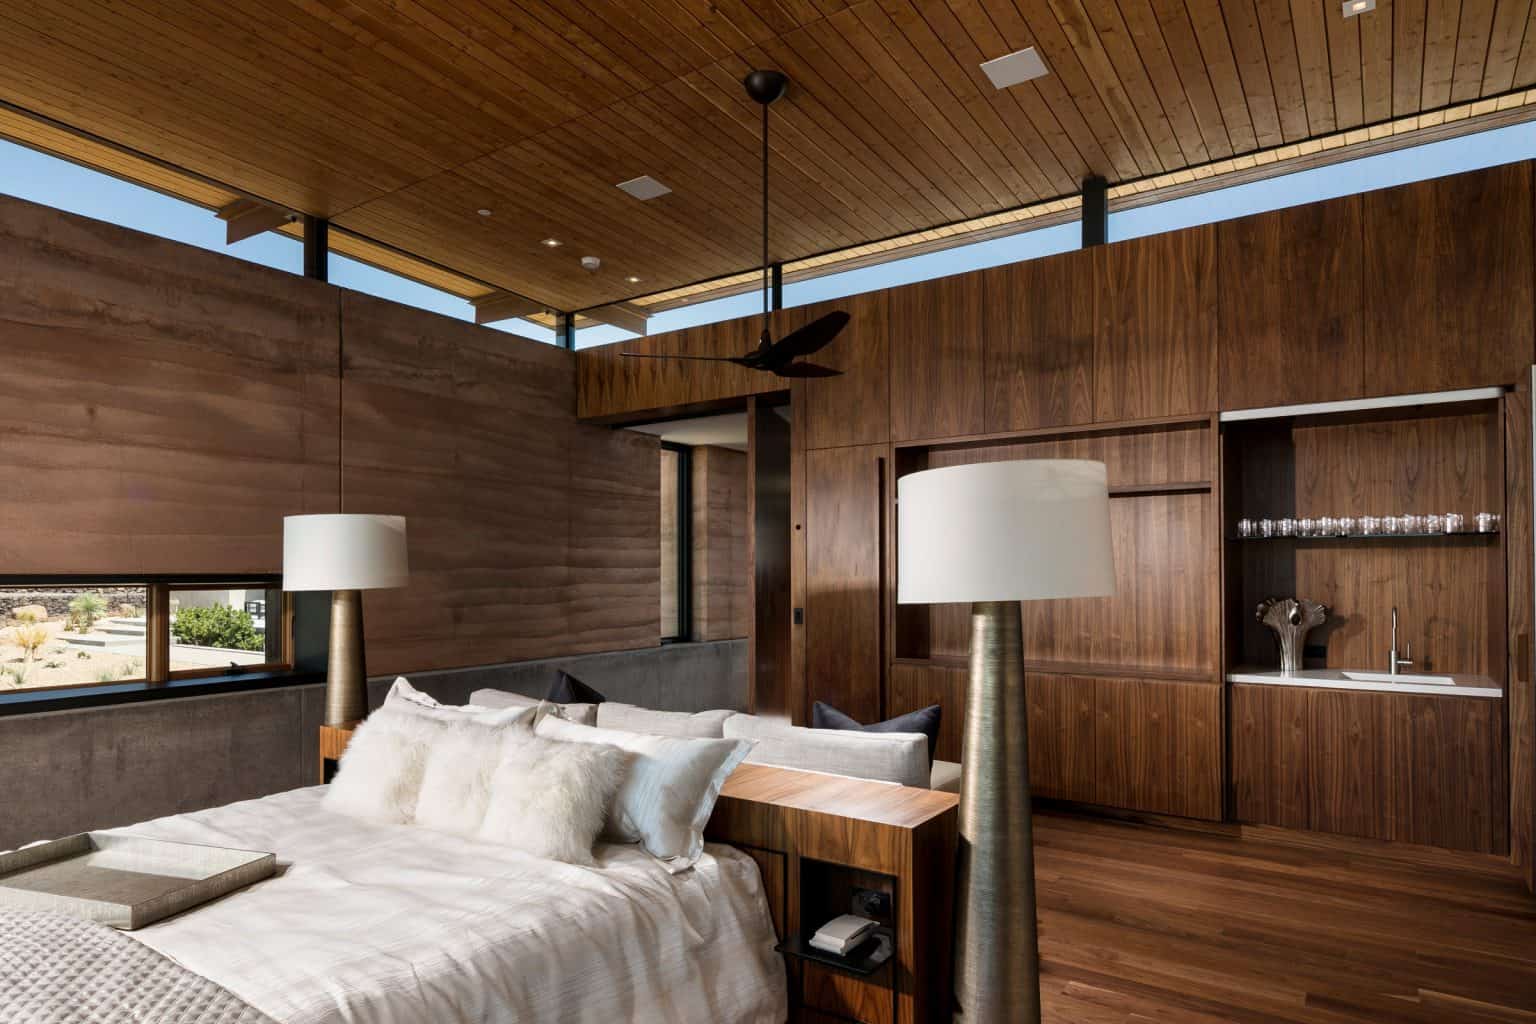
3. Dealing With Bright Windows
Windows can be tricky—they’re often blown out in photos because the outdoor light is much stronger than the interior.
Here’s how to handle it:
Option 1: Let the windows blow out (intentionally).
If the view isn’t important, embrace the bright effect by:
-
Shooting at an angle that minimizes the window
-
Closing the curtains halfway
-
Using interior lighting to compensate
Option 2: Capture the view clearly.
To balance light levels:
-
Use HDR bracketing (3–7 images) at different exposures and blend them in post-production.
-
Add continuous lights or flashes to brighten the room and match the outdoor exposure.
-
Shoot at golden hour—sunrise or sunset—when indoor and outdoor light are naturally balanced.
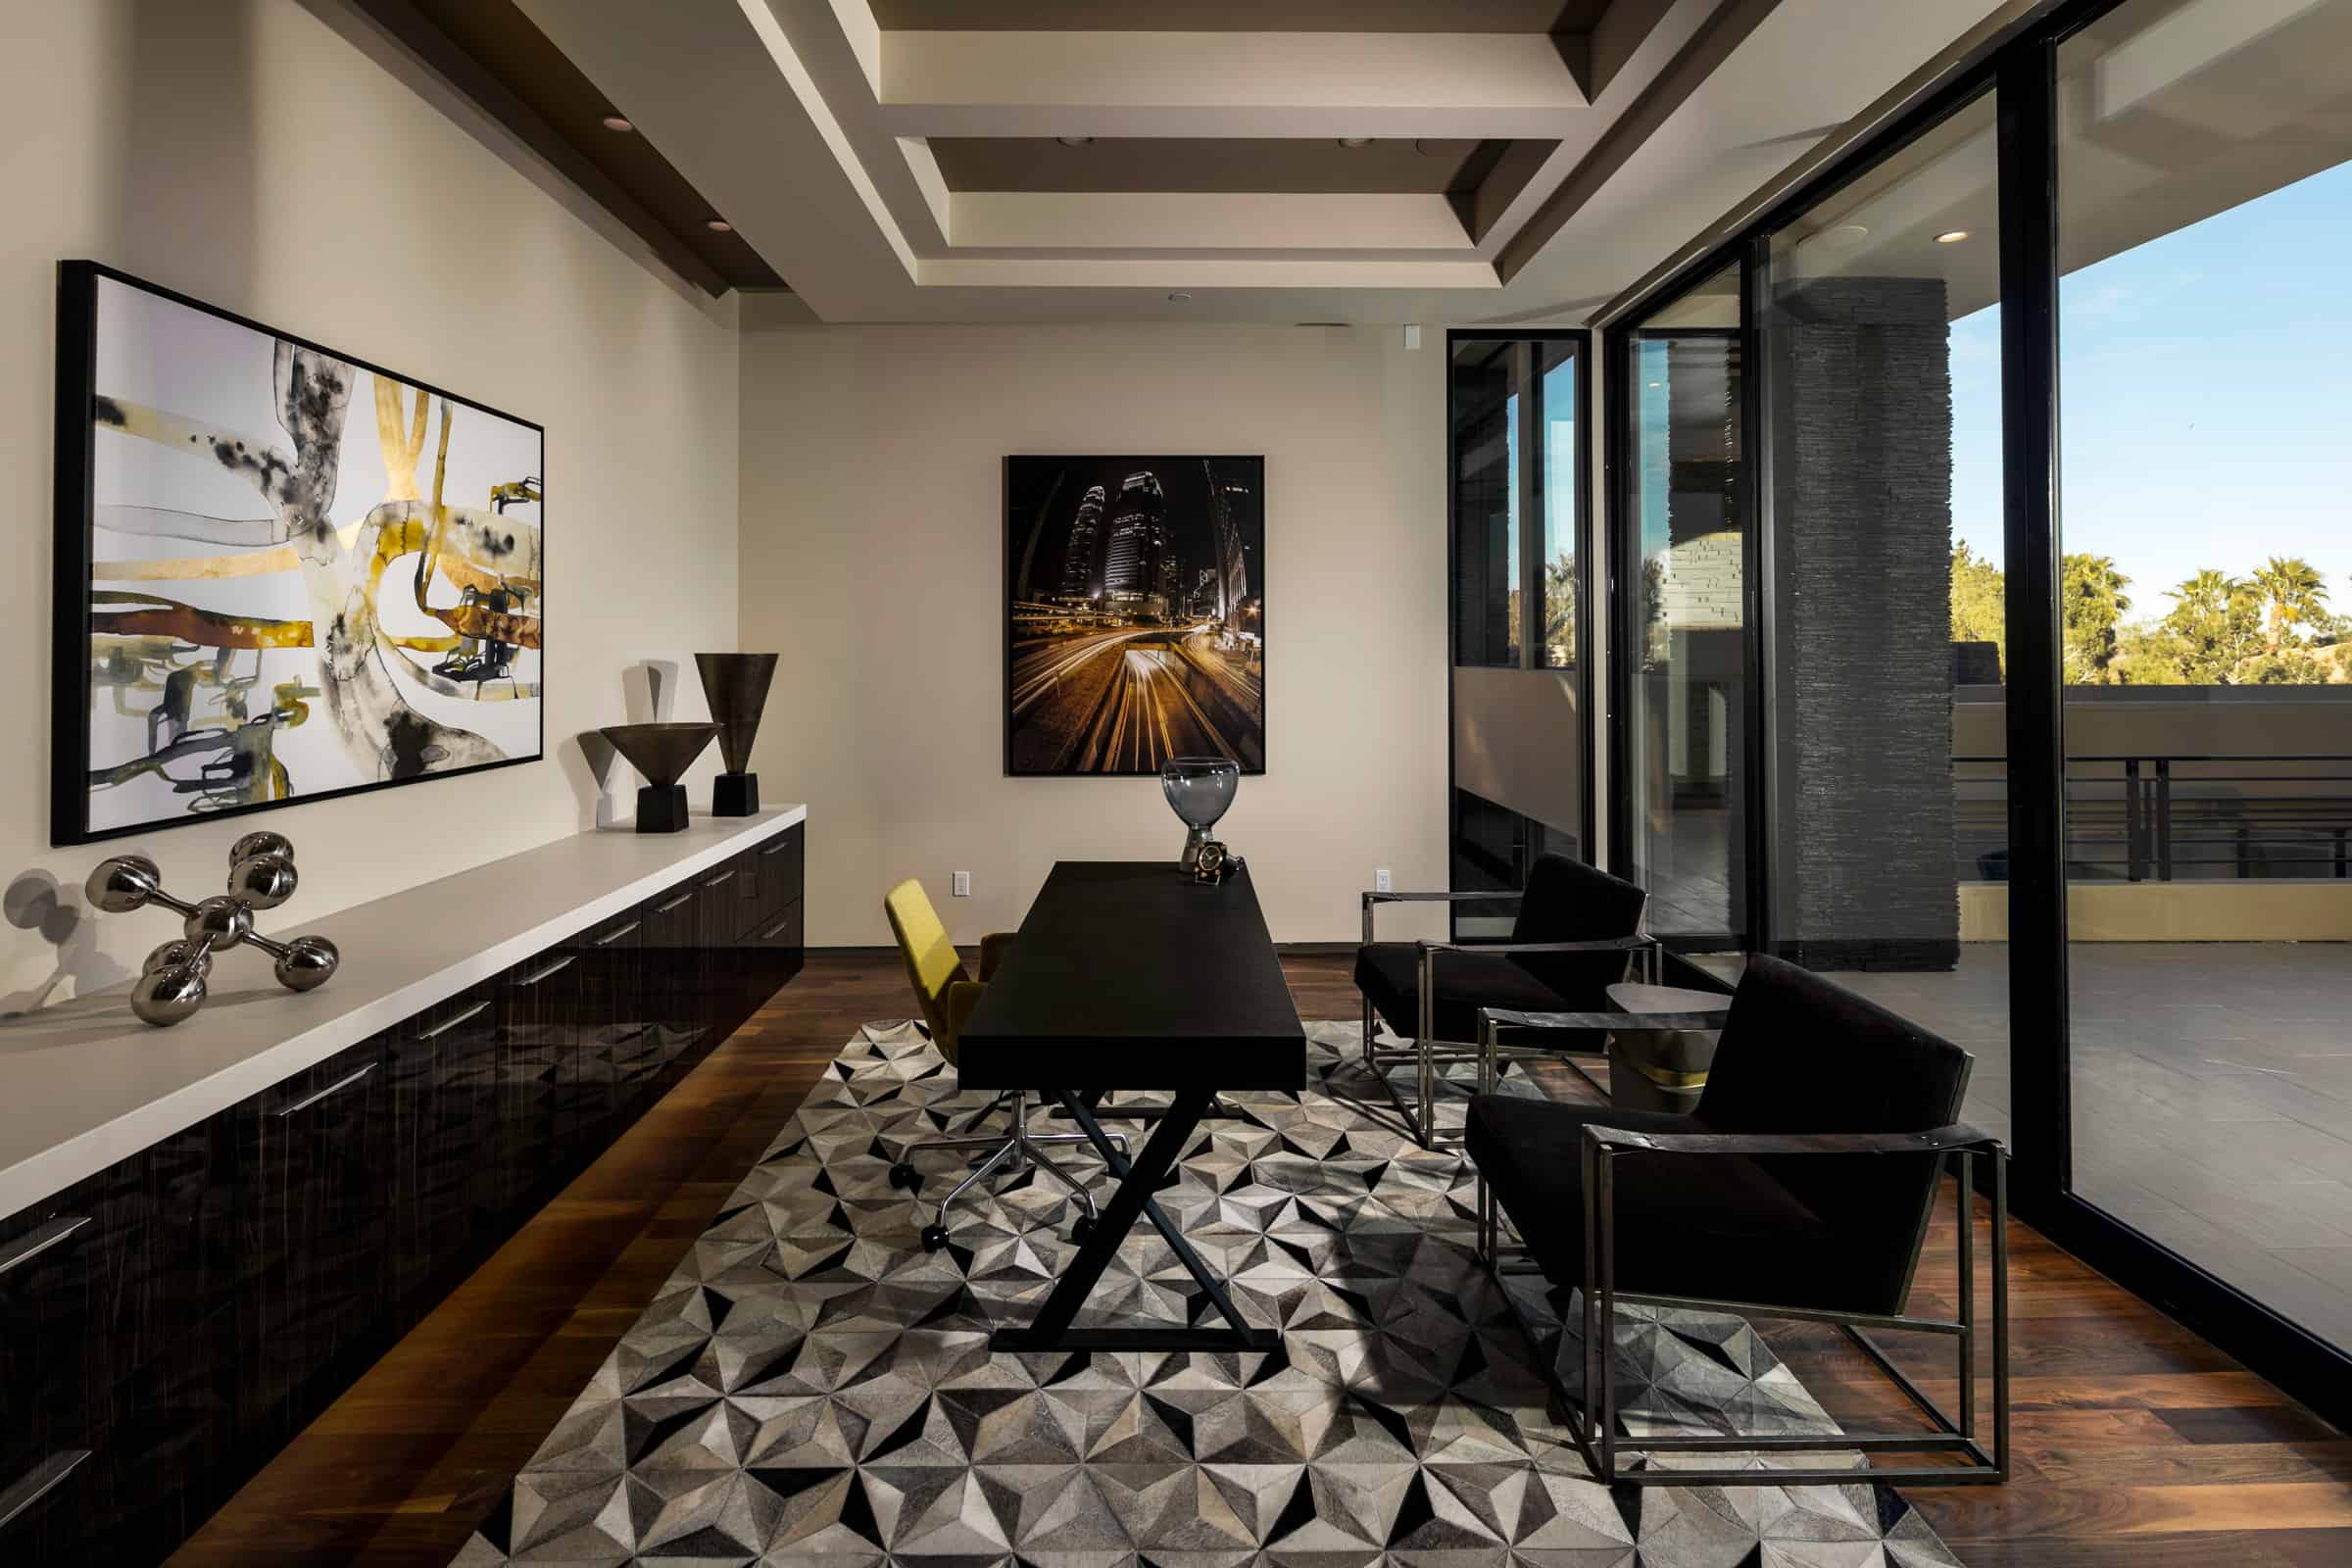
📸 In the example image above, we used a large umbrella light (70″) to simulate soft daylight coming from the window direction, creating depth and a natural feel.


4. To Zoom or Not to Zoom: Close-Up Shots
Here’s a controversial take: I’m generally against isolated close-up detail shots.
Why?
They draw attention to accessories instead of the designer’s vision. It leads the viewer to ask “Where can I buy that vase?” instead of “Who designed this space?”
That said, if you do take close-ups:
Focus on intersections of materials—e.g., a throw blanket on a velvet sofa next to a marble table.
Keep the story intact. A close-up should still feel like part of the bigger scene.
📸 Think lifestyle, not product catalog.
5. Renderings vs. Real Photography
Should you use 3D renderings in your portfolio?
Only if your real photos match or exceed the quality of your renderings.
Using ultra-polished CGI while delivering average photos in real life creates a trust gap. Your visuals are your brand. If the client feels a disconnect, they may assume you can’t execute your ideas in reality.
✅ Best practice: Use real photography whenever possible. It builds credibility and sells your true design style.
6. Shooting Interiors with Your Smartphone
Smartphones are capable tools—with a few limitations. Here’s how to make the most of them:
Avoid shooting directly into windows or bright sunlight to prevent overexposure.
Stay level and centered. Enable the grid lines in your camera settings to keep everything straight.
Don’t shoot too wide. Zoom slightly (1.2x–1.5x) to avoid distortion and reduce reflections in shiny materials.
Use a side light. Even with a smartphone, you can add a strong daylight-balanced LED wash light to create depth and direction in your images.
And of course—make use of instant sharing: Snap, edit, and publish on Instagram and Facebook in seconds.
—
nterior design photography is more than capturing spaces—it’s about selling the feeling of living in them.
Whether you’re a photographer, designer, or creative team, aim to tell stories through your images. Choose your angles with intention, manage light like a pro, and shoot for lifestyle—not just decor.
The best visuals don’t just show the room—they invite the viewer to be in it.