Before we jump about how to improve your pictures let’s understand the goal.
First – Documenting the project
Second – Leveraging the images to create the interaction of the client motivating them into a “call to action” and hiring you is our ultimate goal.
You should always aim to create those gut feelings of your potential clients of “ I want this “.
Table of Contents
Planing an Architectural Photoshoot
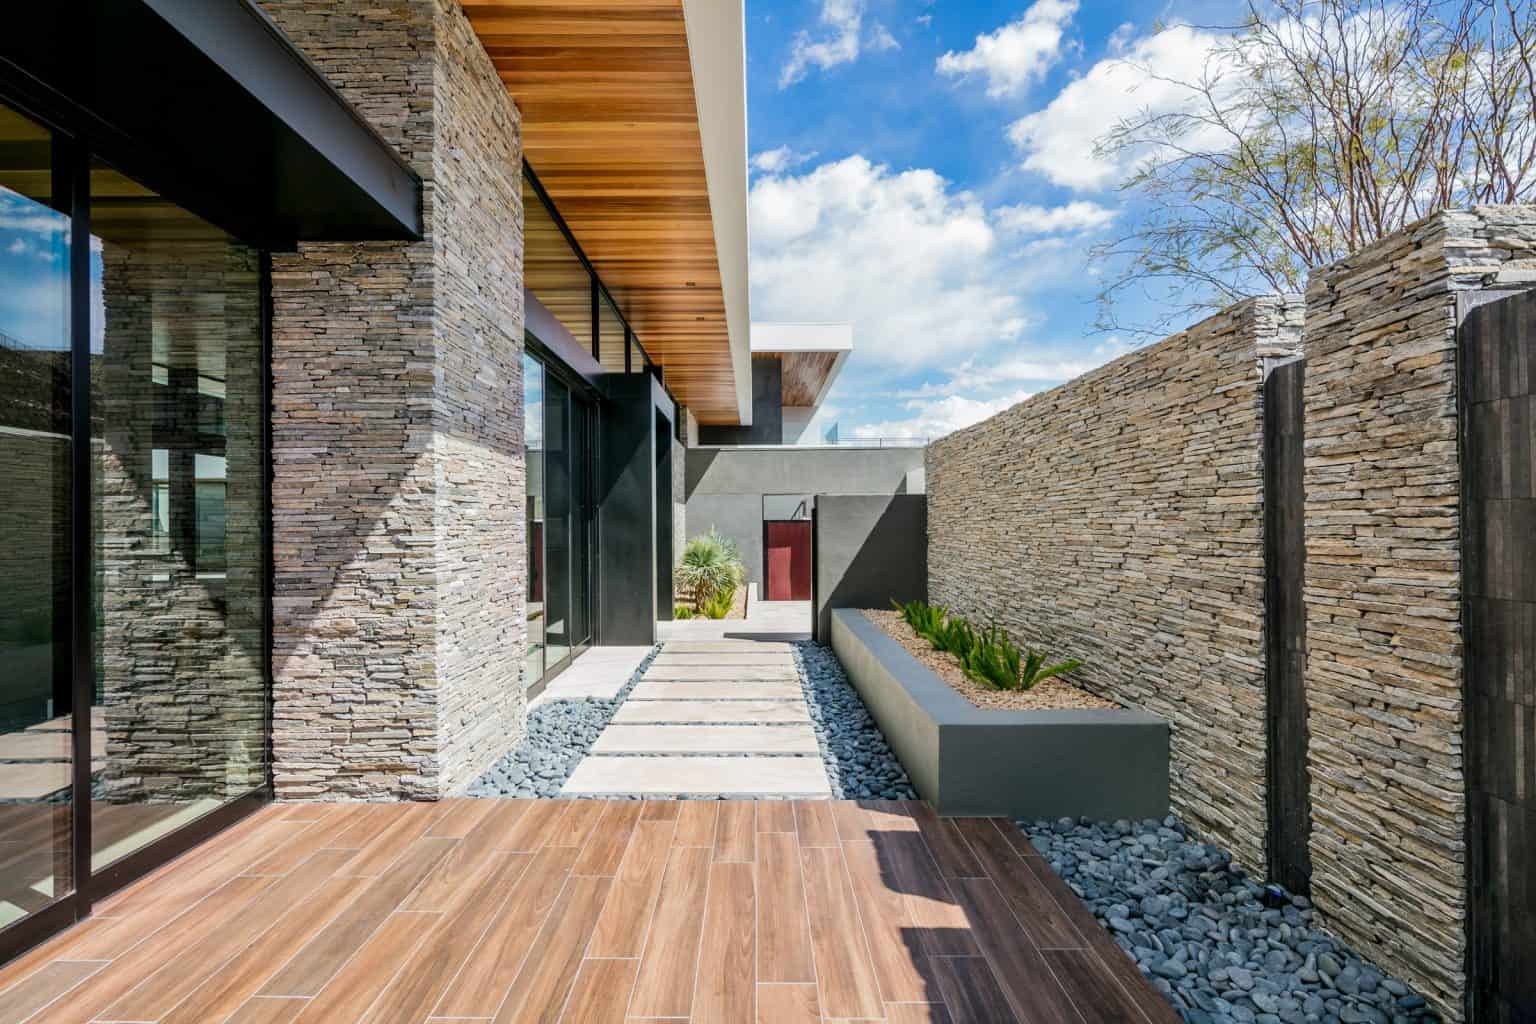
Starting outside you should consider if to capture the space by itself or tie it to the environment.
When you capture structure its important to put a spot on the environment, location, views and incorporate all of them into one visual.
Don’t forget to address all the design and architecture elements that make the structure special, from the front, and to the side, try booth angels of each side to see which one works the best for you.
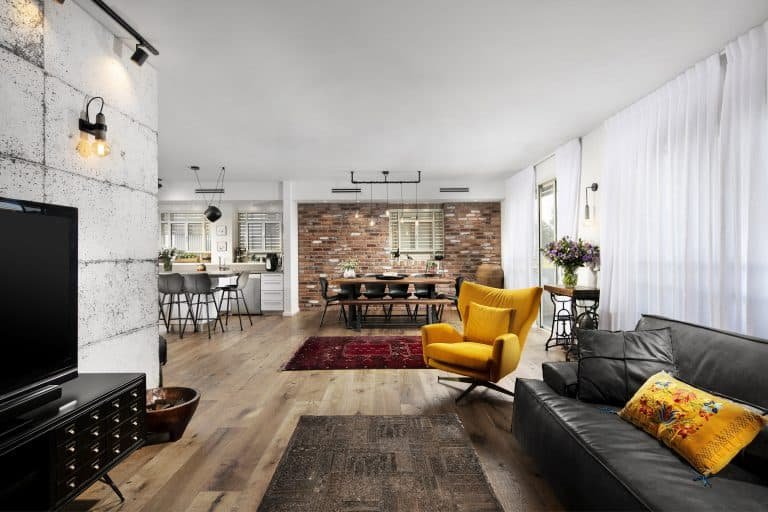
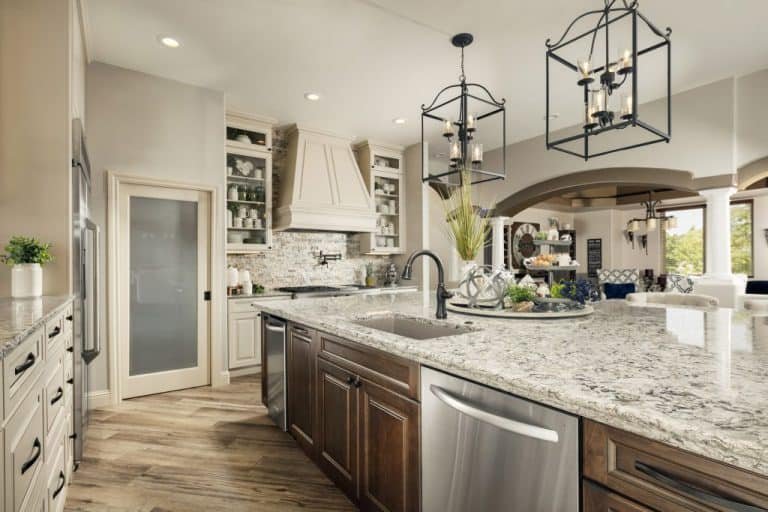
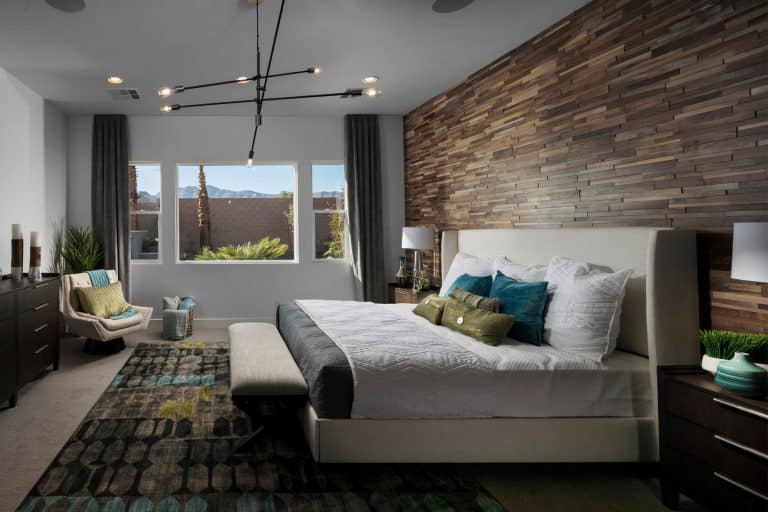
It doesn’t end on the outside it continues to the inside as well.
Interior Design and Architecture go hand in hand, it is always recommended to have both indoor and outdoor as well.
What equipment should you use for Architectural Photography
The basic always starts with a good camera with enough resolution and a compatible lens.
The professional ones use a high-resolution camera, architectural lenses like tilt-shift that allow us to minimize lens distortion and keep the lines straight.
Studio light, transmitters, receivers, light stands, tripods, and much more technology-driven gear help us take it one step further.
Don’t forget that equipment is just a tool, the trick for a good image is a good angle and lighting.
If you are not working on the higher end level or you are just starting any good new mirrorless or DLSR full-frame camera would be enough paired with a good lens typically 20mm and more on Full-frame and 17 on crop cameras to avoid any lens distortions.
Here are a few Tips, How Architects can capture Better Photos of their projects
Shutter Speed: The structure does not move, however, don’t forget the environment does (trees from the wind) also the camera itself moves slightly when making a picture.
Let’s start with the basics:
- A tripod is a must
- As possible try to work on M (manual) mode
- If we want to capture people in motion within the frame go under 1/25 shutter speed, if you want to make sure your visual is as sharp and not blurry keep your shutter above 1/125
- On night/twilight photoshoot you can go towards 1/25 or even 1 second if needed but make sure you use a shutter release remote wired or wireless.
- An advanced technique will be to lock up the mirror on DSLR as it can cause some blur on longer exposures (lowers shutter speeds)
Aperture: The aperture defines the depth of field and also the sharpness of the image.
- Try to stay within F9-F11 to make sure we have the best sharpness possible.
- If you use (A) – Aperture priority mode or Automatic mode the camera will choose the aperture for you, so it’s recommended to keep it simple and use the M (manual mode).

ISO – Keep your sensitivity to a maximum of 50-100 the lower the better is for your picture quality, if you can’t try to not pass the 400 ISO mark.
Utilize the Sun – Big structures can’t be lit with studio lighting, we have to use the sun for it.
Wait for the sun to come in front of your building/angle but it’s best that it will come from one of your sides and not behind you for a better gradient of light and shadows on the space (depth).
Choosing the right lens – it’s not always best to go wide as possible, as wide lens getting distortions, try to keep your focal length on 24mm and above unless you are using a Tilt-Shift Lense.
Keep it straight – Your professionalism relay on straight lines and proper ratio of the structure and space, keep your camera on a tripod parallel to the floor, use the bubblehead on the tripod or buy one for the camera if your cameras do not have one built it to make sure your straight to the object and from the ground.
Resolution – It is always recommended to photograph over 18mp (minimum I work with is 24mp) this will allow you to crop and modify the image later on in post-production.
Although it makes sense, if you crop 40% of the image you lose 40% of your resolution. If you were capturing a picture at 18mp you would end up with about 11mp, if you were doing this on 15 you will find yourself with less than 10mp.
For Pros – For the professional out there, I would recommend shooting with 24mp and up, double-checking your focus each and every shoot, and using dual-card cameras to multiple records your work into two separate cards.
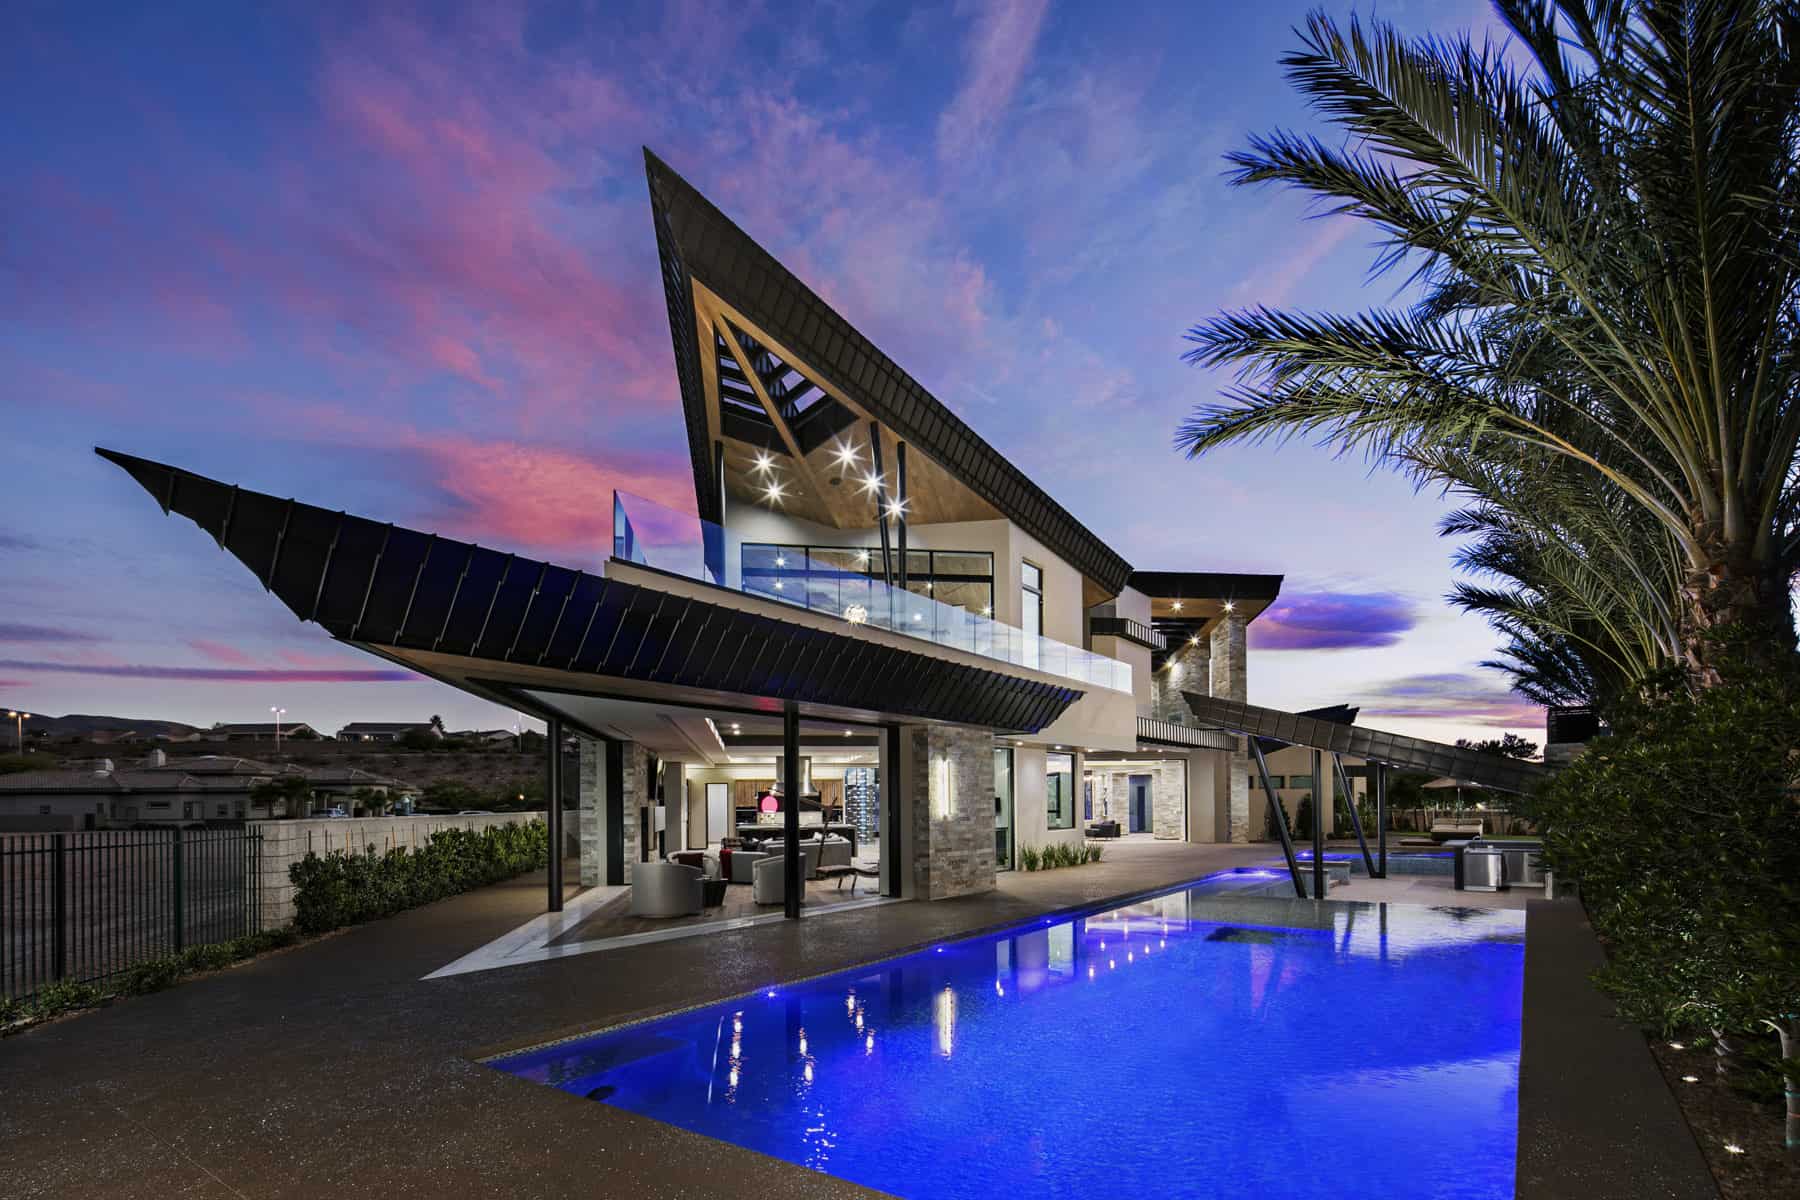
Work with the light
Capturing large structures or even multi-level homes without additional lighting to control the light of direction can be difficult to achieve great pictures.
Work with the sunlight that is not directly in front of you and not behind you as it will create a flare or light the structure evenly leaving all the depth in the photo.
Plan your photoshoot according to the sunlight, in the example on the right I was waiting about an hour for the sun to “hit” the building in the direction I wanted in order to create the gradient of light, enhance the shadows and create a higher range of depth.
Wait for Twilight:
If you find a great afternoon daytime exterior image and you are finished with the rest of the photos, you should wait another hour in the same position to capture the same just in the dusk.
Dusk pictures are always better Hero shoots create more mood and atmosphere.
Photographing Architecture with Mobile Smart Phone
- Activate those grid lines from the settings for straighter images.
- Be parallel to the floor / ground.
- Don’t capture when the sun is not behind or to the side of you.
- If you tilt your phone up or down you will have space out of proportions and not straight due to the distortion of the angle.
- Leave those “filters” a side, the goal is to focus on your work and not a “cool filter”.
- Make sure your smartphone is set to it’s highest resolution.
- Active “Live” Mode, in some of the smartphone you can have the “live mode” on, this means the phone takes several photos in a single photo, in case you picture is blurry you can choose another frame to try save the day.
- Avoid using the zoom feature as it is most of the time “digital zoom” which means the phone is digitally zooming and reducing the quality and resolution.
That’s all for now, good luck with you upcoming photoshoot.