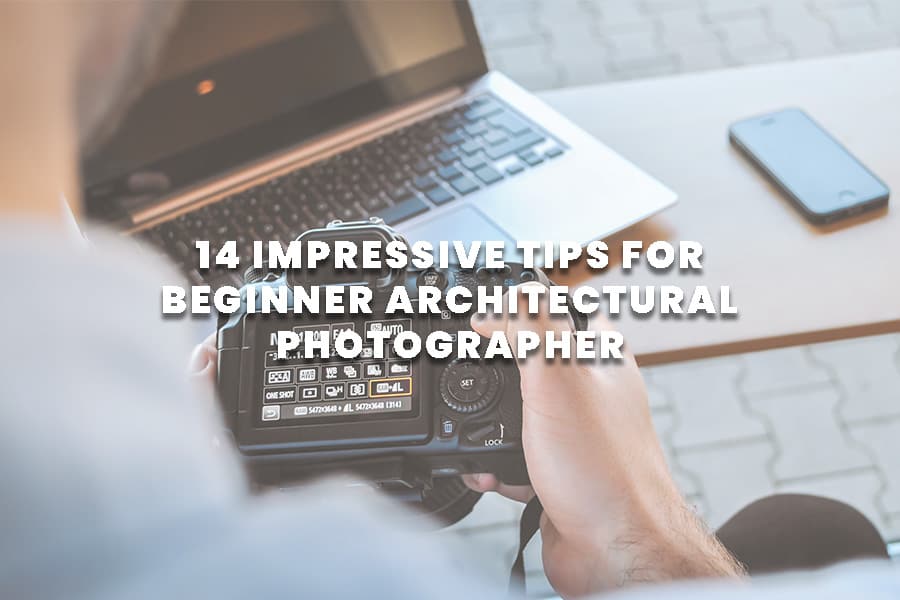
Capturing stunning Architectural Photography can look very complicated after all this is a technically oriented profession, but with those simple tricks, you can create beautiful and consistent imagery for architects, designers, and other professionals in the industry right from the beginning.
Table of Contents
What is Architecture Photography
Some may think it’s about capturing beautiful spaces for magazines, while in the earlier days this is how it all started, but today this is the only way for architects, designers, new development, construction companies, and the hospitality industry can market their creation’s and properties.
Architectural Photographer has a great history and many concepts that have evolved to the current days, so make sure you read some of our other blog posts to learn more about them.
Is being Architectural Photographer profitable?
Like every professional service provider, this can be very profitable if you run it like a real business.
Being an amazing photographer does not cut it if you can market and advertise your business and attract new paying customers.
You can focus on high volume with decent prices or low volume with high payment working with the elite.
How much is an Architecture Photographer make?
This can vary depending on the experience and your marketing capabilities, you can read more about pricing here.
It is also depending on the market, do you work in Poland, Germany, Italy or maybe France and Spain.
But in general, a day rate goes from €1,000 to €4,000 on average and depends on the type of client, the number of photos, and hours of work.
If you want to learn more about commercial photography pricing we have more information about it in our photographer’s blog.
Cameras
While we believe stunning photography can be created with any type of equipment as it’s all about creativity and lighting, our gear makes our life much easier.
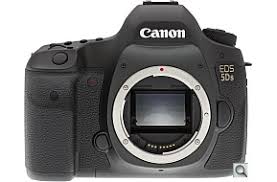
Architectural Photographer Camera and Lens are 2 Professional bodies with a high dynamic range and megapixel.
You can choose the brand you like the most, just make sure the camera has dual memories cards for backup, at least 24mp (higher is better for commercial shoots), and a high dynamic range is always good to have enough details in the shadows and highlights.
Lenses
The lens is up to you most of us work with Tilt-Shift Lenses, which allows us to keep the frame straight within the camera without manipulating this in post-production.
If you do shoot with a TS lens so 17+24 from Canon is the best choice on the market, if you don’t have any TS lenses or you can’t find one that fits your camera type or brand, any 24mm lens would do the trick.
Remember that wide-angle lenses create distortion, and like we said the minimum product that architectural photographers should be able to provide is straight and undistorted images.
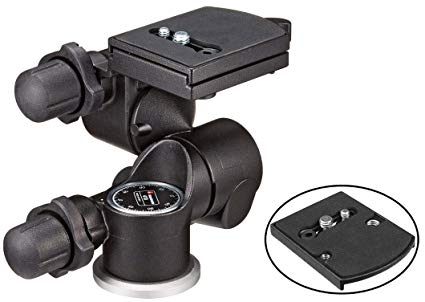
Tripod
Well, I am sure you already know it by now, 99.9% of our images are done using a tripod, but it’s important to understand which type of architectural photographer accessories and gear you need for the task.
So first would be the material, and the most common options are metal and carbon, while carbon is lighter, metal/steel is heavier and therefore more durable.
We work with carbon tripods from Manfrotto, but we have a sturdy head that holds the camera and some other accessories on top of the camera that provides us with extra durability.
Hight, while you are right, we often shoot parallel to the eye level and most tripods arrive at this height, you need to take into consideration those times you need to take the camera higher when you are on a lower level or in a location that you have something in front of you that you can’t move (bar, wall, furniture, etc). So make sure your tripod can get up to 180cm.
Remote Triggers
You might be wondering how we are creating those complicated images or how you can have a monitor for the client.
We often use products like CamRanger to control the camera from the mobile phone or tablet and sometimes add a monitor for the client to preview the images and make them feel involved in the process.
The great benefit is that it’s wireless which means you don’t need to touch the camera and leave it outside while you are inside or put it close to a corner when you can’t push behind it.
If you want to learn more about the gear and accessories we use make sure you check out this post.
Working with the Light
It’s all about timing and one of the secrets is a day shoot, meaning we don’t come for 1-2 hours and work with just what we got, we have a whole day to work and the best is that we can work along with the sun movement towards a different part of the space.
For sure you might be telling yourself that if the sun was at a different angle this image would look much better right?
So we are not necceraly capturing the spaces in the same order that make sense (exterior, entrance, living room, kitchen, dining, bedroom, etc..) we are scouting the space and working where the light fits the space best.
Tell a Story with the right number of images
Always wondering how many images you need? Well, it all starts with the basics.
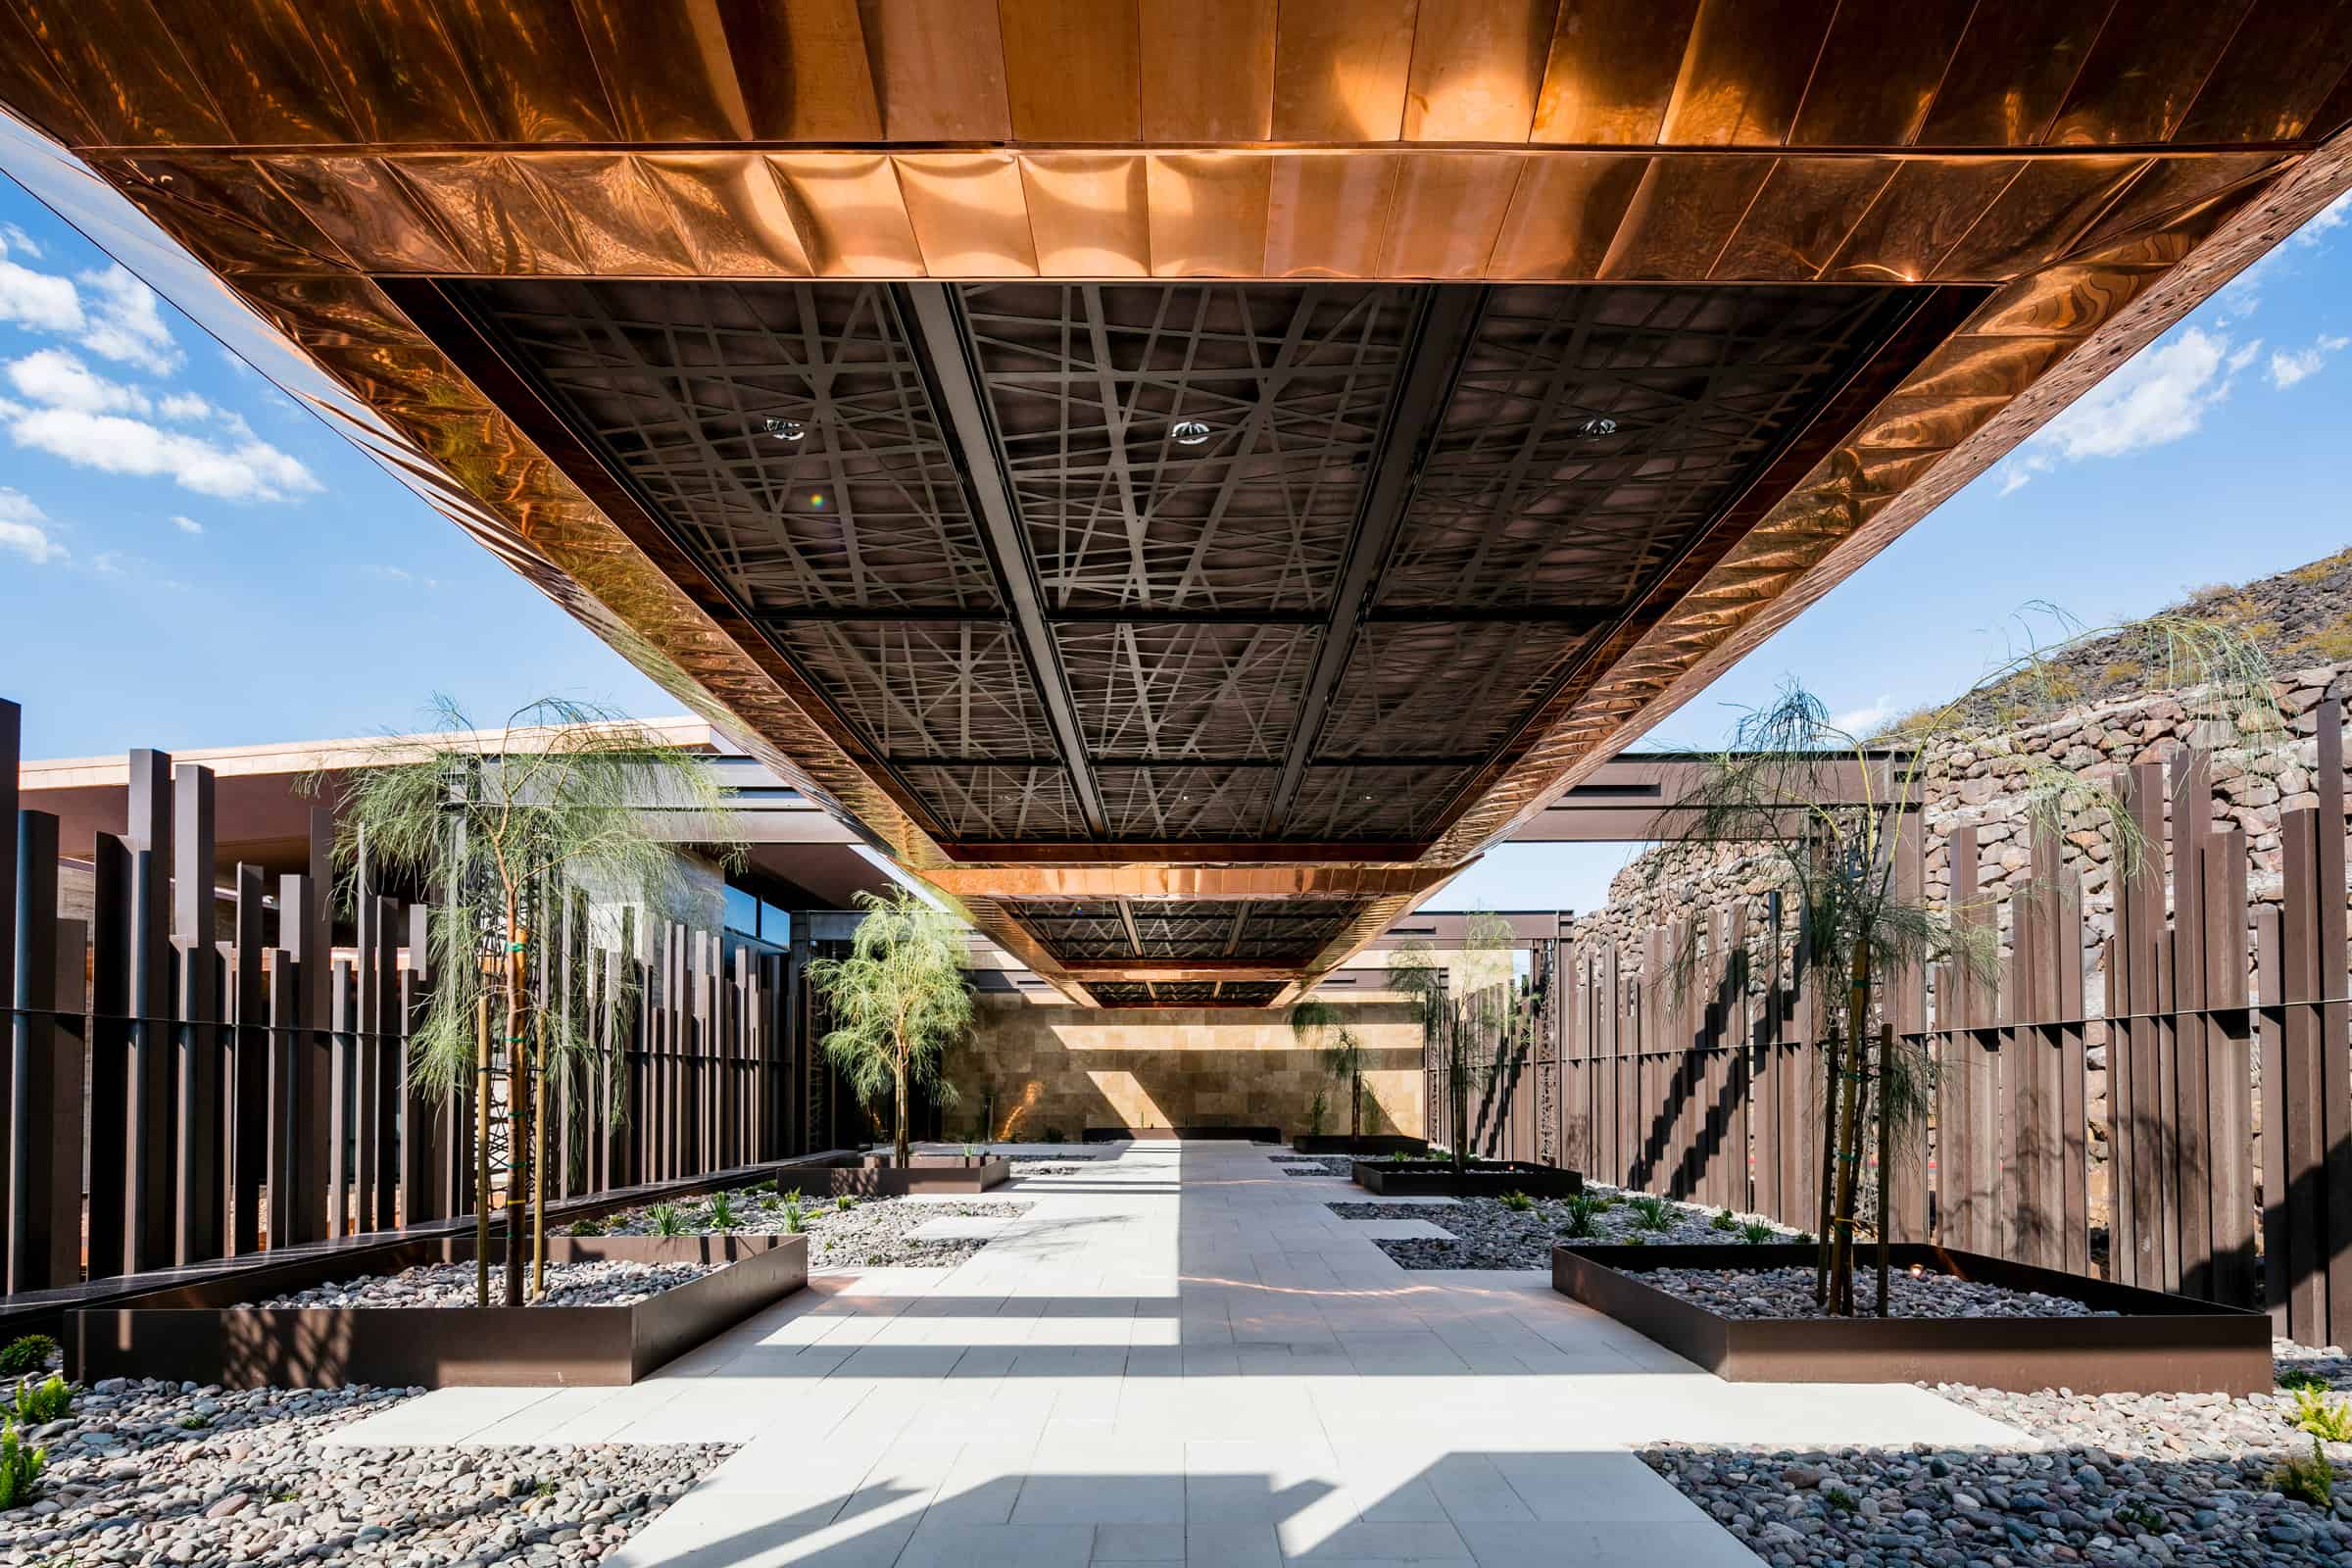
- 2 exterior front
- Entrance / lobby
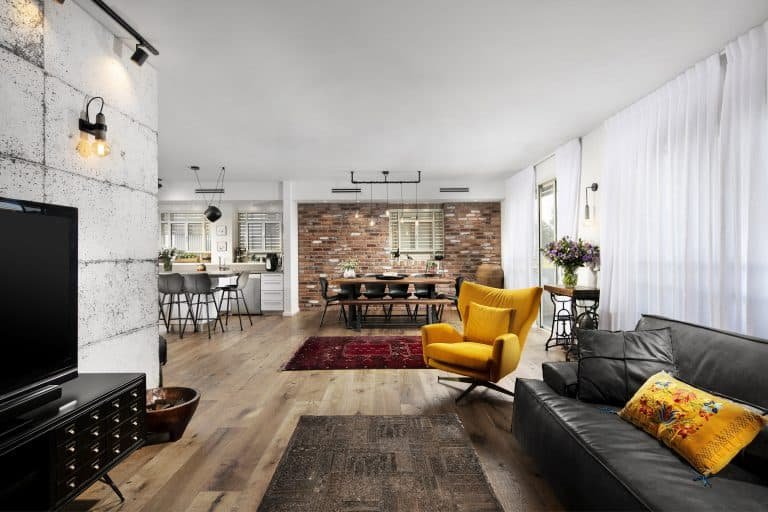
- Living room / Public Space
- Kitchen / Dining Room
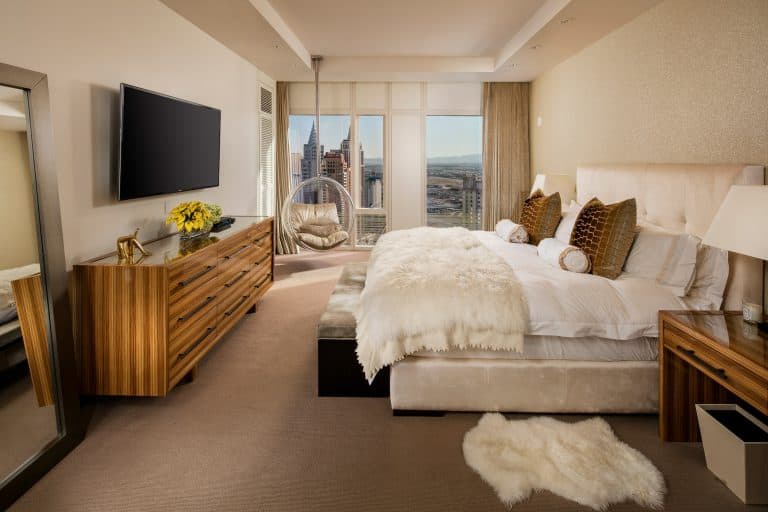
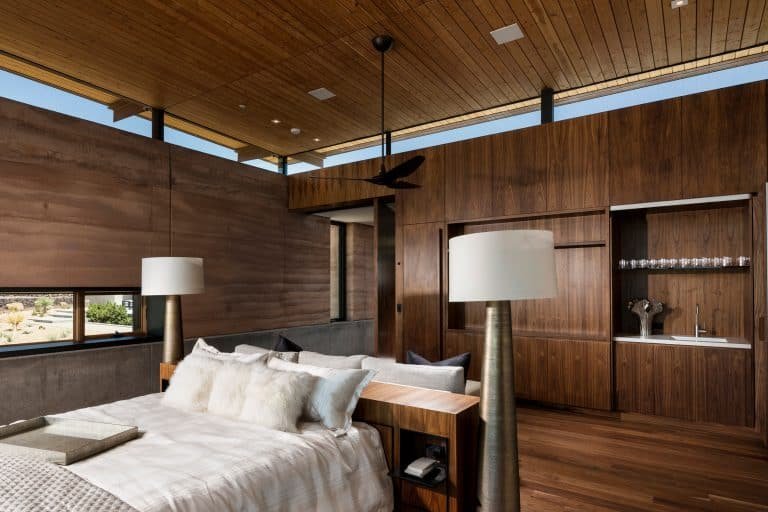
- Master Bedroom / Main Office
- Master Bathroom / Other Main offices
- Guest Bedrooms / Other spaces
- Entertainment Spaces
- Exterior Back
- Twilight
Preparation
Remember we talked about running like a real business?
Some of the best tips and tricks are preparation for the shoot, this means a night before or before you leave for the photoshoot you should have a basic checklist of all the gear.
- Camera + Battery + Cards
- Backup Camera + Battery + Cards
- Main Lens
- Backup Lens
- Chargers / Battries / Cards
- Tripod + Head
- Flashes / Lighting Gear
- Light Stands
It’s also a great way to have a checklist before you pack up to leave a far destination to make sure you didn’t leave anything behind.
Walkthrough
After you greet your client and put your gear in a safe place for you and other people, it’s time to walk through the property and understand the layout, and scope of work, and check if all spaces are ready for the shoot.
This will help you understand better the work needed to be done, and what has been done by your client and also to have a plan to work while the sun is moving around throughout the day.
Declutter
While you are doing your walkthrough, this is a great way to have in mind what things need to be removed, shifted, organized, or added into the space before you start photographing.
Things like garbage cans, cables, old magazines, and ashtrays and organize the space (beds/desk).
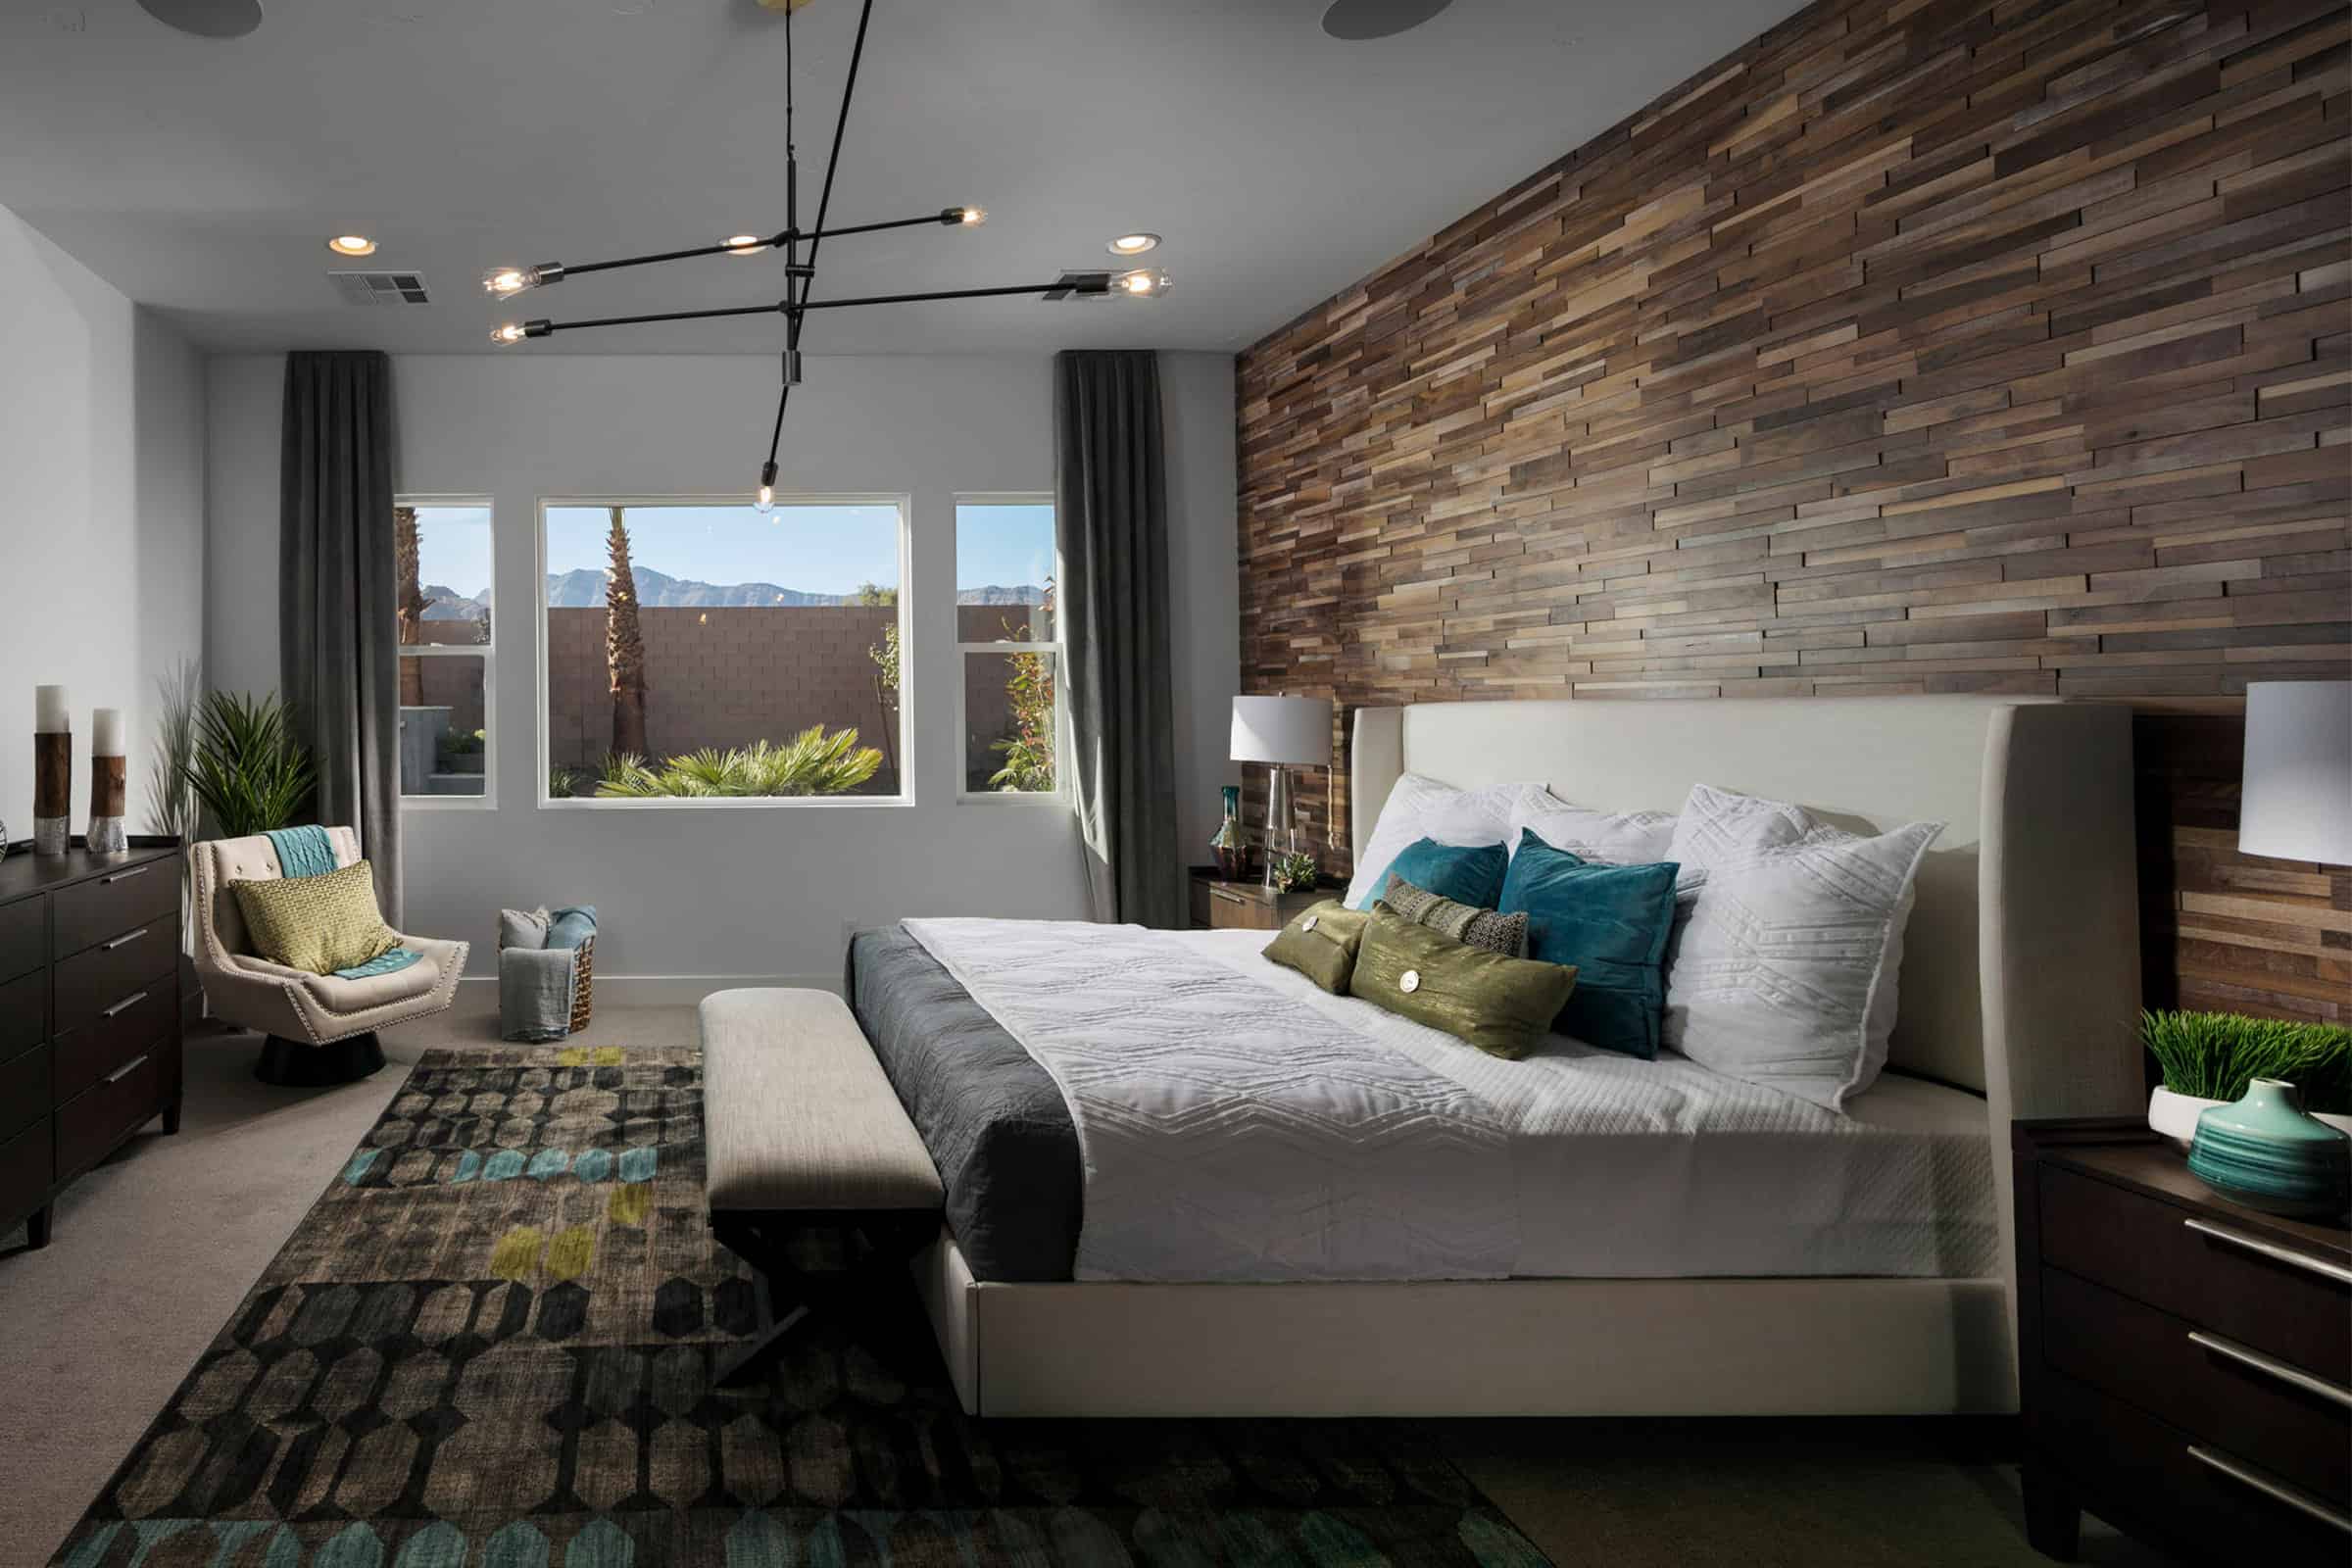
Lighting
During the walkthrough, it’s time to turn up those lights, fireplaces, and anything else that impact the light and atmosphere in the room.
The thing about lighting you need to remember is that many use mixed lighting sources which impact the color in the room.
If all lighting is the same (white or warm) that’s fine but in 99% of the cases, it’s not like that.
If you can dim the lights to a minimum this would be the best as you would see the light (bulb) working but it will not impact that much your overall colors.
If you have mixed lighting that impacts your colors in the image you can use studio light to overcome those lighting, change the light bulb to match or fix it in post-production later on.
Shoot Stright Forward
The most impactful images are straightforward, it does not mean you can’t shoot at an angle, but you need to make sure the lines are staying straight.
When you shoot forward you have a two-dimension visual, which is easier to make sure all your lines are aligned. Shooting at an angle will give you the three-dimension feel, however, it’s easier to get to too many lines going all around and distracting the eye.
Mix with Artificial Lighting
So to keep it simple, You had two light sources the sun (outdoor light) and the ambient light from the light fixtures across the space.
In general, the light outside will always be brighter than the inside (unless it is dusk or night), which means your interior light will be underexposed and when you expose to the interior the outside light will be blown out (no details).
If you use mix lightly with flashes, strobes, or other typeanothertype another type of light for the interior you have two options.
The first is to overcome the overall light with artificial lighting meaning the flash should be the dominant, if you work creatively you can control the light direction and eliminate the color from the interior light.
The second option is to supplement the interior light with the exterior, meaning you use the artificial light (strobe/flash) to balance the interior light and to feel shadows.
Whichever method you choose, make sure you give a gradient of light or from the sunlight or your lighting, when you are balanced 50/50 you will find the images to be flat and not clear what is going on in the frame.
Editing Architecture Photos Basics
Keep it simple, start with the regular color correction, shadows and highlights, recovery and white points, sharpening (all RAW should be sharpened), and just embellish the image.
The second thing it sodo makes sure all your lines are straight, using the grid function in photoshop or “dragging” rules to see if the lines are straight.
Do not do Editing
Yes, your right the black is not black and the white is not white we all get it.
This happens when the AmbiantAmbient light color from the sun (warm) or the inside (warm, white, blue) create different color on the overall image.
What you don’t want to do is take all the colors out in white, black, and gray to make it completely colorless, this is too obvious and that is what separates a professional architectural photographer from an amateur when the editing is not shown.
You can reduce the colors to 70% leaving some color that comes from the ambient light as every designer or architect will tell you that in reality there is no such thing as pure white or gray.
If you want to learn more feel free to check out our blog with many resources for beginners and professionals, wondering about learning our field professionally? make sure you read this first.